
In the world of golf carts, power is paramount. The performance and longevity of these electric vehicles depend greatly on their battery setups. If you’re aiming to enhance the power supply of your golf cart, you might be considering How to Wire 3 12V Batteries for a 36V Golf Cart to create a robust.
This manual will guide you sequentially, guaranteeing that your golf cart is energized and prepared to navigate the golf course.
Table of Contents
Introduction of How to Wire 3 12V Batteries for a 36V Golf Cart
Golf carts find extensive usage not just on golf courses but also in diverse environments like resorts, residential communities, and expansive properties. Their hushed and environmentally conscious functioning positions them as a favored means of conveyance. Upgrading your golf cart’s power system by wiring three 12V batteries together to achieve a 36V output can significantly enhance its performance.
Understanding Battery Voltage
Voltage serves as a gauge of the variance in electric potential and plays a pivotal role in establishing the power generated by a battery. In a series connection, the voltages of individual batteries add up. Thus, by wiring three 12V batteries in series, you can achieve a total output of 36V.
Selecting the Right Batteries
Before you start wiring, it’s crucial to select the right batteries. Opt for deep-cycle batteries as they are designed to provide a steady amount of power over a longer period. Make sure all three batteries have the same voltage and capacity to ensure balanced performance.
Safety Precautions
Working with batteries involves electrical components, so safety should be a priority. Wear protective gear like gloves and safety glasses. Ensure the golf cart is turned off and the key is removed to prevent any accidental electrical discharge.
Tools and Materials You’ll Need
To successfully wire the batteries, gather the following tools and materials:
- Deep-cycle batteries
- Wrench and pliers
- Battery cables and connectors
- Wire stripper/cutter
- Terminal protection spray
- Insulating tape
Step-by-Step Wiring Guide
Step 1: Gather Your Tools and Materials
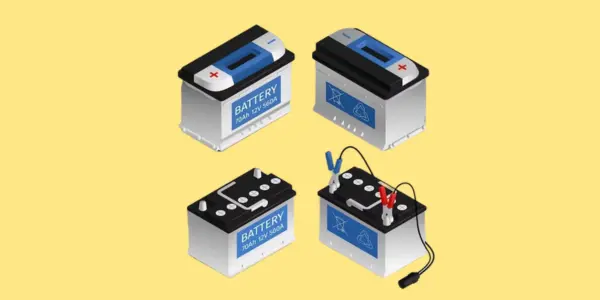
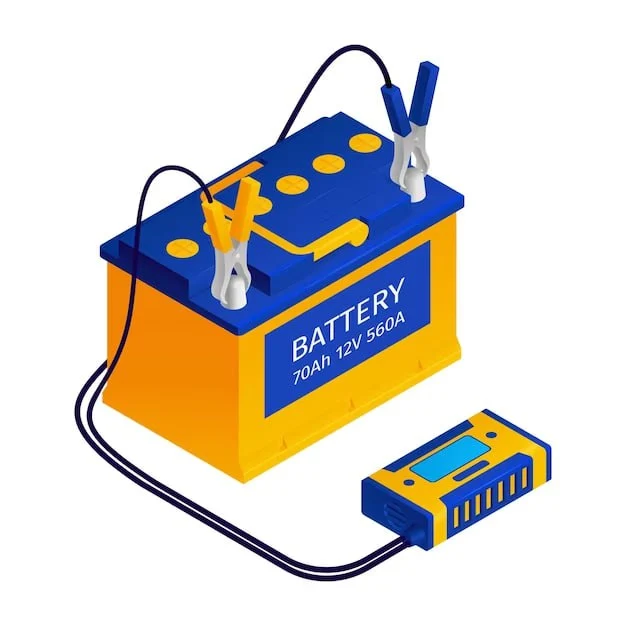
Collect all the necessary tools and materials in one place. This will make the wiring process smoother and more organized. [How to wire 3 12v batteries for a 36v golf cart]
Step 2: Choose a Suitable Location
Select a well-ventilated and dry location for your battery setup. This ensures the safety and proper functioning of the batteries.
Step 3: Disconnect the Power Source
Disconnect the negative terminal of the first battery and the positive terminal of the last battery from any power source to prevent sparks or shocks.
Step 4: Connect Batteries in Series
- Bold the Title and all headings of the article, and use appropriate headings for H tags.
- Connect the positive terminal of the first battery to the negative terminal of the second battery.
- Connect the positive terminal of the second battery to the negative terminal of the third battery.
- The remaining positive and negative terminals will be your 36V output.
Step 5: Connect the Cables
- Attach battery cables to the positive and negative terminals of the entire battery bank.
- Connect the positive cable to the positive terminal and the negative cable to the negative terminal.
Step 6: Double-Check the Connections
Ensure all connections are tight and secure. Any loose connections can lead to poor performance or even accidents.
Step 7: Test the Voltage Output
Use a voltmeter to test the voltage output across the entire battery bank. It should read around 36V, confirming the success of your wiring.
Extending Battery Life
Proper Charging
Charge your batteries regularly and avoid overcharging, as this can significantly extend their lifespan.
Regular Maintenance
Keep the batteries clean and check for any signs of corrosion or damage. Clean terminals with a mixture of baking soda and water to prevent corrosion.
Benefits of a 36V System
A 36V system offers improved torque and speed compared to a 24V system. This upgrade can enhance your golf cart’s performance on various terrains.
Troubleshooting Common Issues
Uneven Battery Discharge
If you notice one battery draining faster than the others, it might indicate a connection issue. Double-check your wiring and connections.
Corrosion and Rust
Corrosion on terminals can impede the flow of electricity. Regular cleaning and using terminal protection spray can prevent this issue.
Inadequate Power Output
If your golf cart isn’t performing as expected, there could be a wiring problem or a weak battery. Inspect and test each battery to identify the issue. [How to wire 3 12v batteries for a 36v golf cart]
Frequently Asked Questions
Is it better to wire batteries in series or parallel?
Wiring in series increases voltage, while parallel wiring increases capacity. Choose based on your power requirements.
What happens if I connect them incorrectly?
Incorrect connections can lead to short circuits, battery damage, and safety hazards.
How often should I charge my 36V battery setup?
Charge after each use, and don’t let the batteries fully discharge for optimal lifespan.
What's the average lifespan of deep-cycle batteries?
With proper care, deep-cycle batteries can last anywhere from 4 to 7 years.
Can I drive my golf cart in the rain with this setup?
While the batteries are generally sealed, it’s best to avoid exposing them to heavy rain to prevent any water damage.
Conclusion of How to Wire 3 12V Batteries for a 36V Golf Cart
Wiring three 12V batteries for a 36V golf cart can give your vehicle the extra power it needs for a smoother ride and better performance. By adhering to the provided instructions and safety measures, you can establish a dependable and effective battery system that will extend your time on the course.
Keep in mind that consistent upkeep and routine inspections are crucial to optimize the longevity and performance of your batteries.
Here are all Household Supplies articles